Home arrow Help arrow Burning disc images
Burning Crystal Chip firmware with Alcohol


Please Note: This tutorial assumes that you have Alcohol 120% correctly installed on your system and that all of your current settings are correct. For support setting up Alcohol 120% correctly on your computer, visit the official Alcohol Software website.


8 Simple Steps


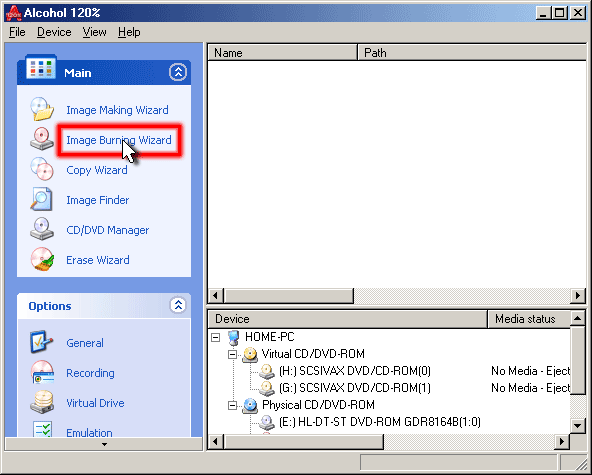
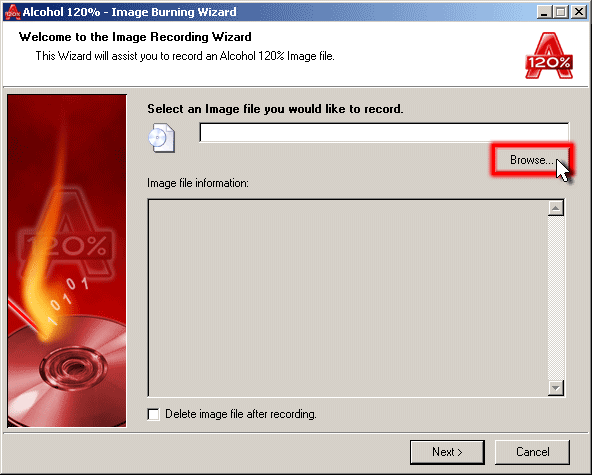
Step 1: Start Alcohol 120% and choose "Image Burning Wizard".


click to enlarge


Step 2: Click the "Browser" button.


click to enlarge


Step 3:
From the drop-down box at the top, choose the folder that contains your upgrade image BIN/CUE files, select the CUE file and click "Open".


click to enlarge


Step 4: Make sure you remove the check next to "Delete image file after recording".  Click "Next".


click to enlarge


Step 5:
Click "Start".


click to enlarge


Step 6: If you have not yet inserted a blank CDR into your burner, insert one now and wait for the "Waiting for disc" dialog to go away.


click to enlarge


Step 7: Alcohol 120% will start burning the image file.


click to enlarge


Step 8: When completed, Alcohol will pop up a window telling you it has completed.


click to enlarge


That's it, you have just created a Crystal Chip Upgrade Disc!

Continue on to Using Official Crystal Chip Upgrade Discs


EnglishFrançaisDeutschEspañolItalianaSwedish